
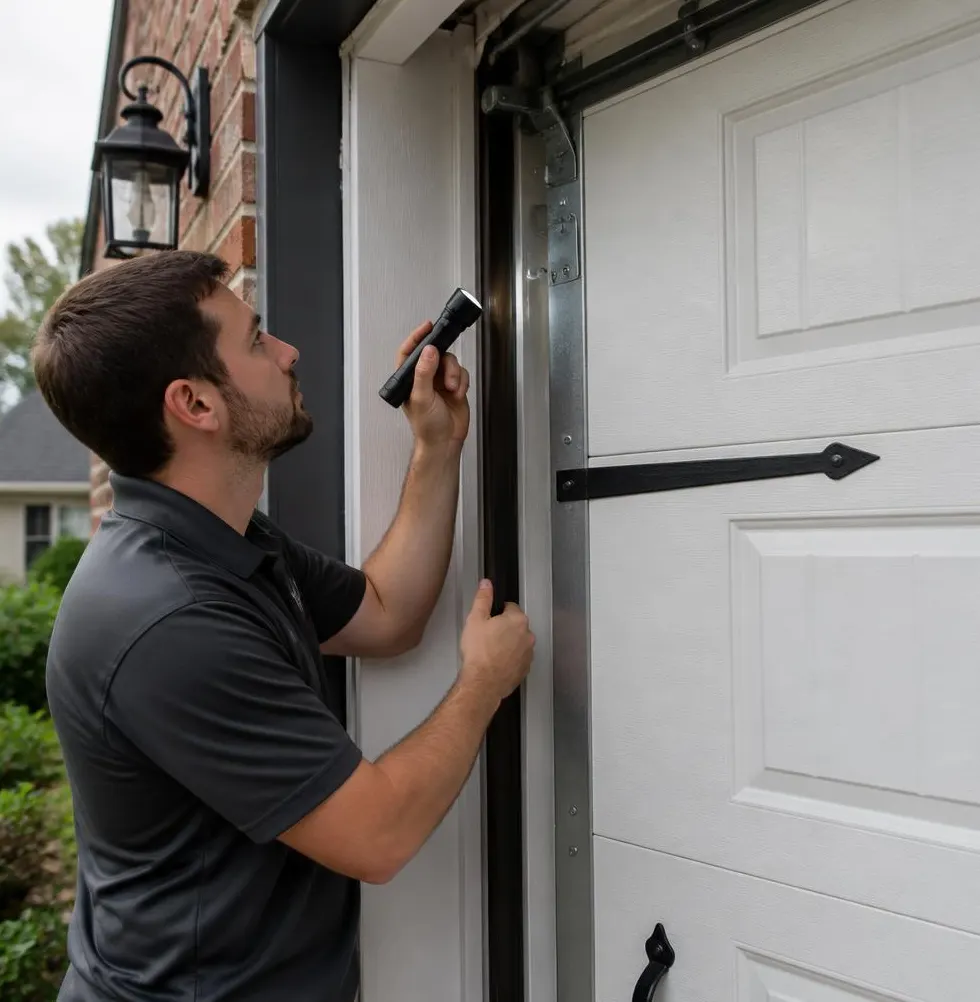
What Ignoring a Worn Seal Actually Costs You
A flattened, cracked, or missing bottom seal doesn't just look rough — it's an open door, literally, for everything you don't want inside. Through a Centerville winter, that gap lets in meltwater and road salt brine that can pit concrete and corrode the bottom of a steel door panel. Cold air pours in around a space heater running in the garage, pushing your energy bill up all season. Once temperatures swing below freezing overnight, water that seeped in can freeze and actually bond the door to the slab, so the next time the opener tries to lift it, something has to give — usually a cracked panel or a strained opener motor. In the humid summer months, that same gap lets in dust, pollen, and insects, and during spring storms it's an entry point for wind-driven rain. None of this gets better by waiting. Weatherstripping is cheap and easy to replace when it's just worn. It's a bigger job once water damage, rust, or pest entry are part of the picture.
Tools You'll Need
- Replacement bottom seal (bulb-style or T-style, matched to your door's track/retainer)
- Replacement vinyl or rubber weatherstripping for the sides and top (stop molding), if needed
- Utility knife
- Tape measure
- Flathead or Phillips screwdriver (for screwed-in retainers)
- Stiff brush or shop vac
- Silicone-based garage door lubricant
- Step ladder (for top seal/stop molding)
Step-by-Step: Replacing the Bottom Seal
- Inspect the current seal. Look for flattening, cracking, chunks missing at the corners, or daylight visible under the closed door.
- Identify your retainer style. Most doors use either a T-style channel or a bulb seal that slides into an aluminum or vinyl retainer track screwed to the bottom panel.
- Measure your door's width so you buy a seal of the correct length and the right profile for your retainer.
- Open the door partway so the bottom edge is at a comfortable working height, and support it if it's manual (no opener).
- Clear the track. Use a brush or shop vac to remove old caulk, dirt, and debris from the retainer channel.
- Remove the old seal by pulling it out of the track end-to-end. If it's glued or stapled rather than slid into a channel, cut it free with a utility knife.
- Clean the bottom panel and channel so the new seal seats fully without grit holding it away from the surface.
- Feed the new seal into the track from one end, working it through steadily rather than forcing the middle first.
- Trim the ends with a utility knife so the seal sits flush with both sides of the door.
- Close the door and check for gaps — walk the full width from inside the garage with the lights off to spot any daylight coming through.
- Check side and top weatherstripping (stop molding) at the same time. If it's brittle, cracked, or pulling away from the frame, replace it the same way — most is simply nailed or stapled in a channel and pulls out by hand.
- Cycle the door a few times to confirm it doesn't drag on the new seal, and lubricate rollers and hinges while you're at it.
What's a Homeowner Job — and What's Not
Replacing a bottom seal and side/top weatherstripping is one of the more homeowner-friendly garage door jobs there is. It requires patience and the correct part, not special skill. That said, hand this off to a technician if:
- The metal retainer track itself is bent, rusted through, or missing screws you can't access safely
- The bottom panel is warped, rusted, or has started to separate at the seams — a new seal won't seal against a bad surface
- The gap persists even after a new seal, which usually points to a misaligned track or a door that's out of square
- You'd need to remove panels or hardware near the cables or torsion springs to get the job done — those are under heavy tension and not a DIY area
When to Call Centerville Garage Door
If you've replaced the seal and still see daylight, hear new drafts, or notice the door isn't sitting flush, that's usually a sign of a bigger alignment or panel issue — not a seal problem. Our Garage Door Repair service covers track alignment, panel damage, and hardware fixes that a new seal can't solve on its own. And if it's just been a while since anyone's looked at rollers, hinges, cables, and the opener's force settings, our Garage Door Maintenance visit covers all of that along with seals and weatherstripping in one trip, before winter puts everything to the test.
If your garage door is letting in more than you'd like this fall, give Centerville Garage Door a call — we serve homes and businesses throughout Centerville, OH and the surrounding area, and we can have your door sealed, aligned, and ready for winter.